Sow N Sow


 Product Description
 How to use
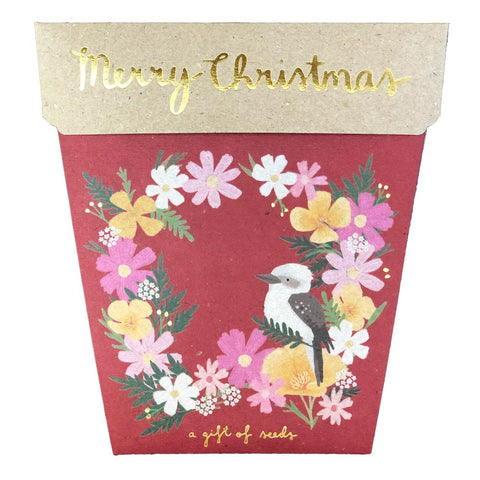
Christmas Wildflowers Gift of Seeds
$11.00
4 payments of $2.75 with 
How it works
With Afterpay, you can get your order now and pay it off later in 4 easy, fortnightly payments.
Learn more Product Description
Sow n Sow Christmas Wildflowers Gift of Seeds are the perfect was to celebrate the most wonderful time of the year.
The Gift of Seeds is a cleverly designed greeting card that makes gifting purposeful and enjoyable. This pack features a mix of californian poppy, cosmos and alyssum seeds that will bring joy to you and your loved ones this festive season.
PLEASE NOTE WA & TAS buyers: there are quarantine regulations with sending seeds to these parts of Australia. Quarantine may inspect your parcel and if so, there is a possibility of being charged a fee of $39.50. Please be aware that Flora & Fauna accept no liability for this fee.
 How to use

